This is how to refinish a table the right way and at your home without needing thousands of dollars. Just need your basic DIY tools and a few small purchases to get going.
If you are planning to give that favorite table of yours with speckled and yellowed finish a new refinishing look, then here’s a disclaimer for you: the process is not straight forward, but its worth doing as it will give your favorite table a new life and is also a satisfying process that will gather many compliments, especially if it was a dining or coffee table where your family gathers once in a while.
As life happens, these furniture pieces undergo wear and tear, splashes and spill-overs of drinks, and even burn marks during a BBQ. The most common issues on old tables are scratches and surface wear, water rings and stains, peeling or chipping finish, gaps, and mold and mildew.
Although severe damage to tables needs to be taken care of by professionals, if you are planning to learn how to refinish a table that has stains, water rings, or minor surface issues, then you can fix it easily at home by yourself.
Before we jump into how to refinish a table, these are the things you need to have before starting:
1. Orbital sander
2. Sandpapers of 80, 120, and 220 gr
3. Drop and tack cloth, clean rags
4. Paint scraper, putty knife
5. Foam applicators
6. Paint brushes
7. Painter’s tape
8. Polyacrylic
The specific process
1. Preparing the table
Before you start, make sure that you have placed your table in a well-ventilated area, like a garage or a covered porch. Also, before proceeding, you have two ways to carry out your DIY project: one is to learn how to refinish a table without stripping off its original factory finish, and the second is to remove the finish and then proceed. In either case, use a drop cloth, as things will get messy.
If you have plenty of time for your DIY project and want to maintain the factory finish, then proceed with the gel stain. It will deliver a soft, faux wood grain appearance but will require you to softly sand the surface with 120 to 220 grit and then proceed with multiple applications of gel and a durable clear sealer.
Some people prefer to use a chemical stripper like a stripping gel to remove the outer finish, which is applied and spread using a chip brush. Then, allow it to sit for at least an hour or two (depends on the chemical concentration and brand) to get the best results.
Then, use a putty knife or pain stripper to remove the gel mixture from the wood, but don’t damage the wood itself. Also, do your best to scrape in the direction of the wood grain of the table to avoid any noticeable scratching. You can also use mineral spirits to remove any residue.
2. Sanding and Repairs
If you are not into chemical gels, then sanding is another option, which will strip off the top layer of the wood. Before proceeding, make sure that you have no residue on the surface that might gum up the sanding block/ orbital sanding sander.
Also, things can go wrong for many reasons, so we always recommend first removing and sanding the top of one of the legs of your table to see the results before proceeding to the main upper wood of your table.
If you want to use sandpaper, then start with 80 grit to remove the bulk of the old finish and gradually progress to 120 grit, which will smooth out the surface, and finally 220-grit sandpaper for a fine, even surface.
Then, find any imperfections that can be repaired with wood fillers. These are great for repairing deep scratches on wood and the dents they might have embraced during their use, even holes. Use a putty knife to apply it and let it properly dry, and use the 80/120 sandpaper to smooth it out.
3. Staining your table
Next, use a wood conditioner, which will help the wood absorb the stain more evenly. Then, by using a foam brush, apply the stain of your choice in the direction of the grain of the wood and wipe off excess with a clean rag.
4. Painting
So now the base is ready and needs to be painted. For that, apply a coat of primer (optional) if the wood is porous or was previously stained. Start applying a thin coat of paint with a foam roller or high-quality brushes and let it dry before proceeding to the next coat. To smooth the pain, light sanding is recommended.
5. Protection
To get a clean and industrial-looking water-based finish, go with a Polycrylic protective topcoat. This one is recommended over polyurethane, which is another common protection finish, but it can get yellowed over time. This one is also more suitable if your furniture is painted in white or has light-colored wood. Use a foam applicator to apply to finally seal the table to protect it from wear and tear.
Now you know how to refinish a table at your home, and we hope that by following the above instructions, you won’t make any mistakes during sanding and staining, which are crucial steps.
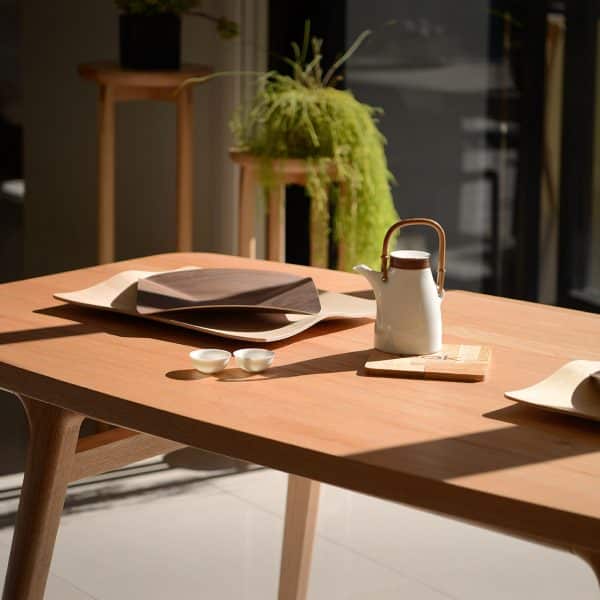
While the process of refurbishing an old table may seem daunting, opting for a new dining table could be a practical alternative. Though vintage pieces carry sentimental value and the patina of time, a thoughtfully designed modern table can serve as a worthy heir to tradition. Take, for example, the Paulo Dining Table from Oak Furniture Collection. Crafted from a robust American walnut frame and a durable sintered stone tabletop, this piece combines timeless elegance with contemporary functionality. Its distinctive tapered legs and retro-inspired silhouette elevate any dining space, while the premium materials ensure longevity. This table exemplifies how heritage craftsmanship and modern aesthetics can coalesce, making it an impeccable choice for those seeking both nostalgia and innovation in their interiors